You know when you look on Pinterest or in a magazine and you see beautiful Easer displays with lush-looking, thick grass? And you think, doesn't that loook gorgeous? And then you look outside and see the miserable excuse for a lawn that your children have trodden to bits? And you sigh and flick to the next page, looking for inspiration for decorations you are more likely to be able to reproduce for Easter Sunday and that you could maybe involve the kids in?
Well stop right there. Here is how you can grow your own lush and juicy looking grass in just two weeks with very little effort. In fact, you can get your children to do it for you, it is that simple. And it grows so quickly, they will love how they can almost watch it grow, hour by hour.
Here's what you need:
Water
Wheat grains (the kind brown bread is made from, but whole not shredded. You should be able to get them in a wholefood shop or a garden center)
A flat-bottomed container, preferably shallow or made of glass (I'll explain why further on)
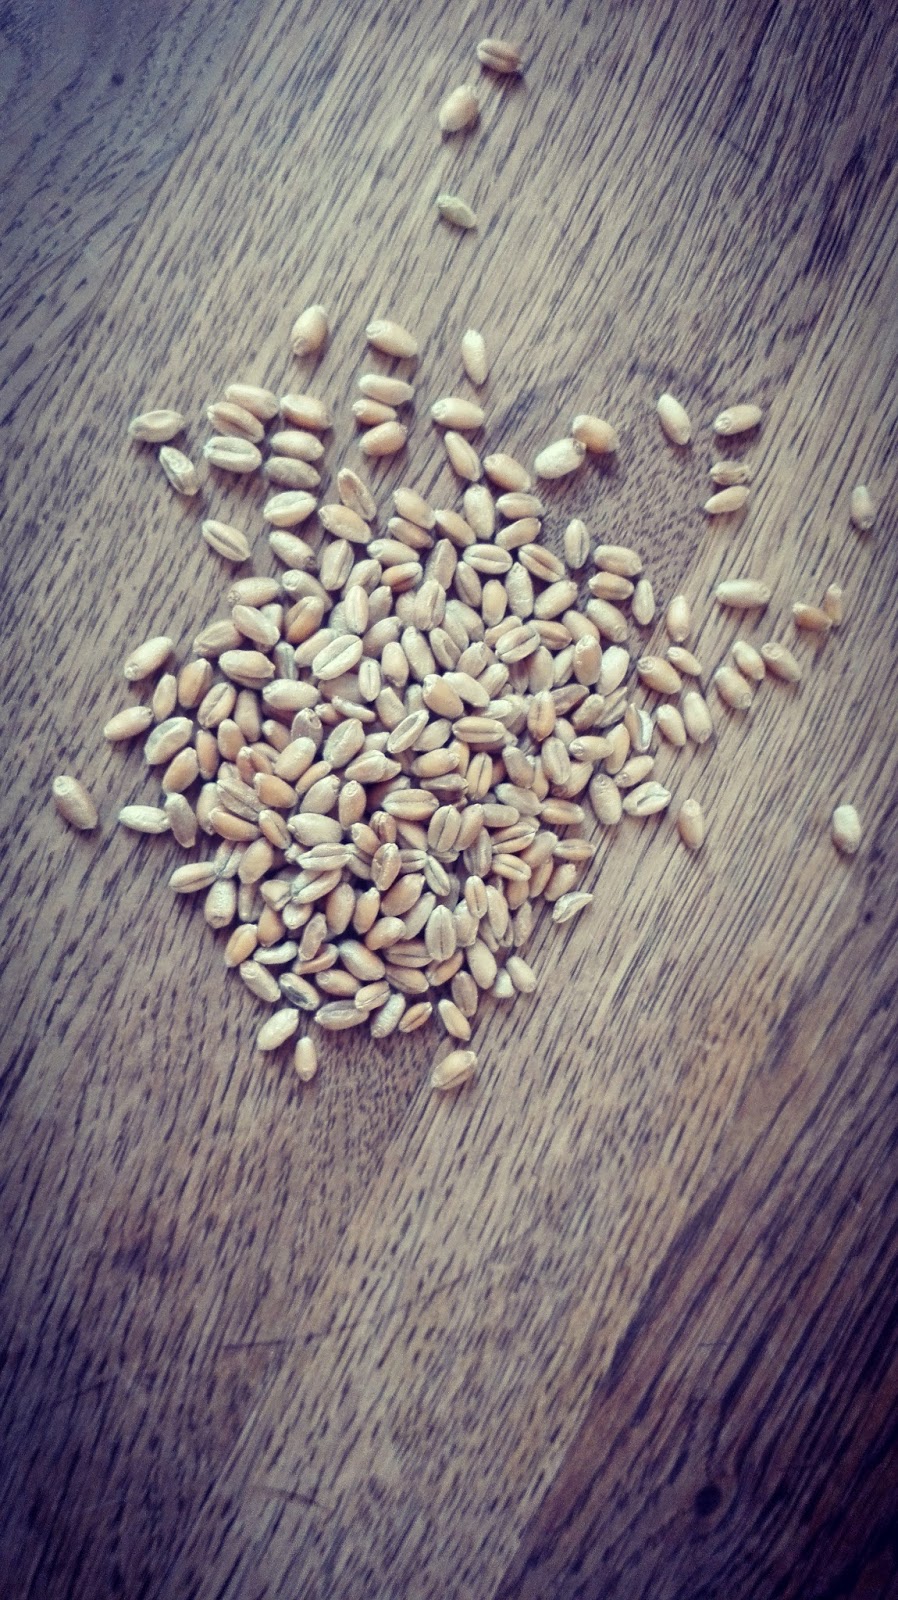
Wheat grains like these are what you need to start your grass off. Don't be concerned that they are dry. So are cress seeds or any other seeds you buy. The wheat grains I used were bought in October and, in our house at least, usually get milled and and added to brown bread when I bake it. They have worked perfectly for grass.

Day 1: Place a layer of grains into a wide, flat-bottomed dish. Water the grains with just enough water to dampen them. Keep the dish somewhere where it gets lots of light. I keep ours on the landing under the skylight.
The reason you need a shallow or glass dish is to allow plenty of light to get to the grains to allow them to germinate and grow.
It doesn't have to be the dish that you intend using to display the grass in when it is grown. Once the grains extend roots, the roots intertwine and form a base beneath the grass stems.
Day 2-3: Water with just enough water to dampen the grains. Keep an eye on them to make sure that they don't dry out completely. The first of the grains will start to sprout.
Day 4-7: By now most of the grains should have sprouted and the blades of grass will grow quite rapidly. Keep watering the grass daily with a small amount of water.


Day 8-10: By this stage the grass should look something like the photos below. Keep watering.


Day 11-14: By the time two weeks have passed, your Easter grass should be looking long and thick, and be a nice bright shade of green.
All that remains to be done is decide on how to decorate. Adding little chicks, foil-wrapped chocolate bunnies, painted or dyed eggs, snowdrops or miniature daffodils are some pretty ideas you could try.
I'll be posting more photos as and when I set up my own decorations. But for now here's a sneak peak at a version I was working on the other day.


That is such a great idea...I would have never have thought of doing this x
ReplyDeleteIt is really simple Kim. You should try it.
DeleteThis looks a good experiment to do with the kids. #TheList
ReplyDeleteIt is. With it being so quick to grow, they don't get as bored with it as they would with say flower seeds or tomato seeds.
DeleteSuch a lovely idea. Thanks for linking up to #TheList x
ReplyDeleteThanks Aby!
Delete