Some time in the early 2000s, I bought what I considered at the time to be a pretty, metal-framed mirror with a candle holder at the front. I can no longer recall where I bought it or how much I paid. Several house moves later, it has found itself in the cellar, no longer a suitable match for any of our other belongings.


A couple of times I almost donated it to the charity shop or brought it along to sell at a flea market. But something held me back. I thought I might spray it gold or change the beads. I just never had that aha moment.
That is, till now. Recently I signed up for a surprise parcel project. The other day I got the list of likes and dislikes of the person I am to send a parcel to. It turns out she likes shabby chic, white paint and crafts.
After a little careful consideration, I decided to get my chalk paint out and see about giving the mirror frame a little makeover. It turned out to be incredibly quick and easy, but with a great result. Hopfully the lovely-sounding recipient will like it as much as I do.

Step 1: Remove the mirror and wipe the frame clean to remove any dust or candle grease.

Step 2: Give the chalk paint a good stir and then apply one coat of paint to the front of the frame. Leave to dry. Rinse the paintbrush well.
Step 3: Apply one coat of paint to the back of the frame, being careful not to apply the paint too heavily. You want to avoid lumps and bumps of dried paint on the front. Leave to dry. Rinse the paintbrush well.
Step 4: Repeat step 2 and step 3 twice. It took at total of three coats of paint to cover the black metal frame completely.
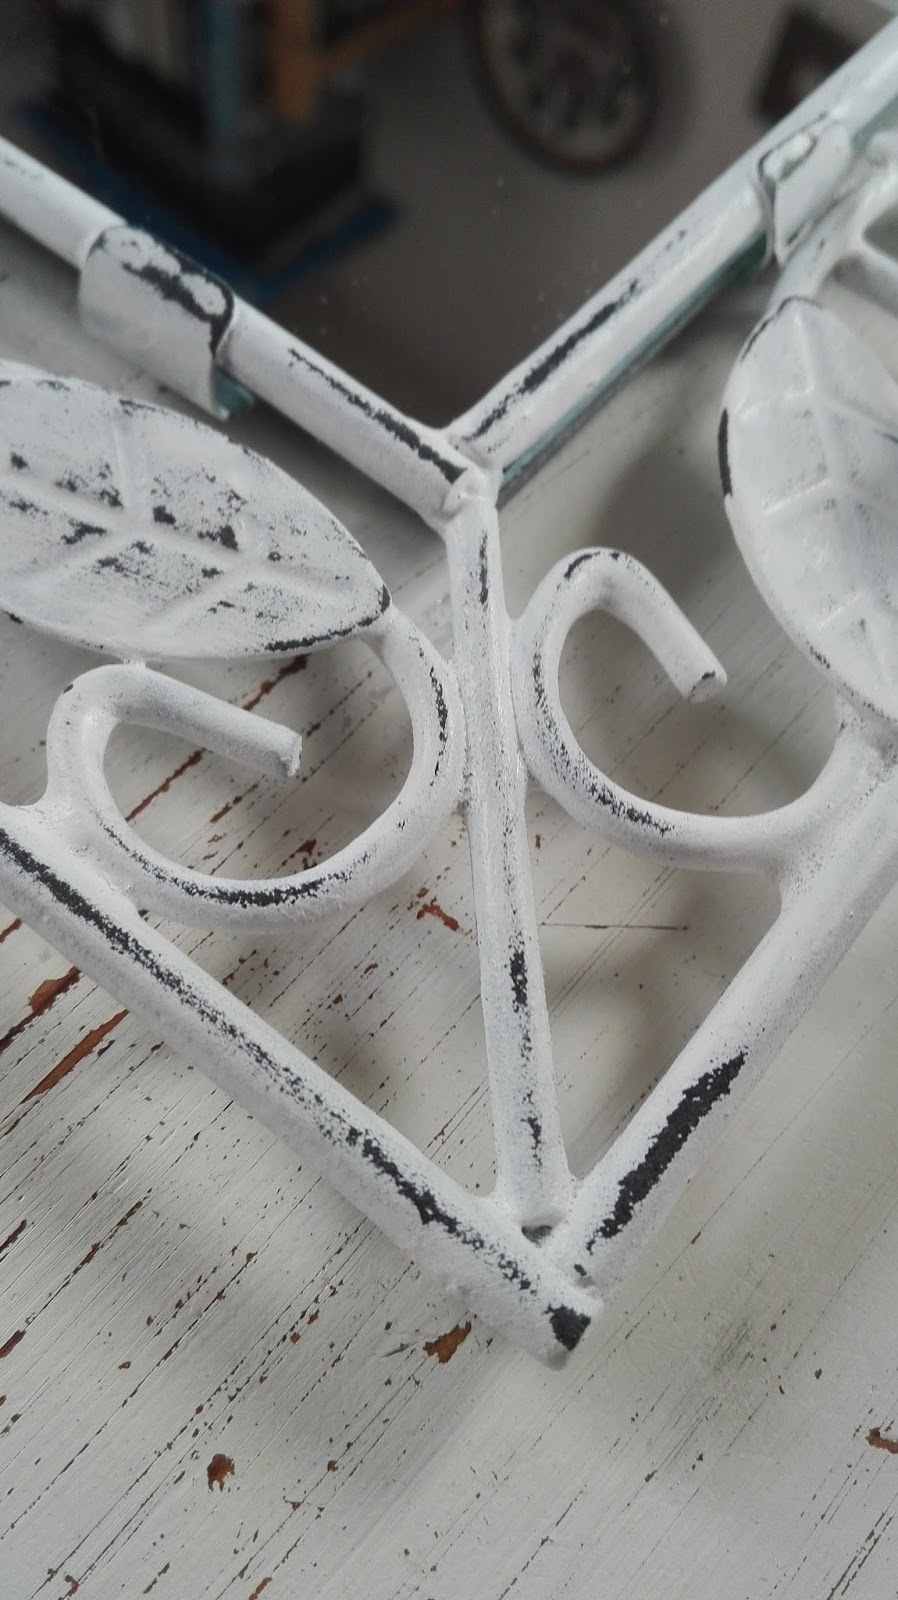
Step 5: Using a small piece of medium grade sandpaper, sand the areas of the frame that would get most wear and tear. This will give the frame an aged, worn, shabby look.
Stand back and look at the full piece a few times. Try to create a realistic pattern of wear, e.g. corners, edges, hinges would get most handing and would probably get worn sooner than the more decorative elements of the frame.


Stand back and look at the full piece a few times. Try to create a realistic pattern of wear, e.g. corners, edges, hinges would get most handing and would probably get worn sooner than the more decorative elements of the frame.


Step 7: Polish the mirror and insert it into the frame.


What a fab makeover, it looks lovely! x #HomeEtc
ReplyDeleteThank you Jessica. Amazing what you can do with a bit of paint and a piece of sandpaper!
DeleteCooool! WHAT a difference!! You'd pay a lot of money for that in a chi-chi vintagey shop wouldn't you? I blooming LOVE chalk-paint!!!! What a fab makeover! :) #HomeEtc
ReplyDeleteThanks Caro. Yes, chalk paint is, as we say in Ireland, the business! So little preparation needed and it is so quick to dry too. It makes little projects like this a cinch.
DeletePerfect! Great makeover and what a difference. Looks SO much better. Great job :) Thanks for linking up - love it. Jess xx
ReplyDelete#HomeEtc
Thank you Jess. It has improved it at lot. Thanks again for hosting Jess.
DeleteFab makeover, love the distressed effect too - suits it. #homeetc
ReplyDeleteThanks Stephanie. I'm pleased with the end look.
DeleteOh gosh, it's made a massive difference. I've got a large mirror hanging above fireplace in my living room which I hate ... actually, I hate both the mirror and the fireplace ... but I just don't know what to do with them. Paint could be the answer!
ReplyDeleteHasn't it just, Rachel? Painting might be the answer, indeed. I have seen some gorgeous painted fireplaces on Pinterest. My cousin was looking into doing hers and the ones we looked up looked fab.
Delete