Showing posts with label Easter crafts for kids. Show all posts

Thursday, 3 March 2016

Counting Down To Easter With Kids: Grow Your Own Easter Grass

You know when you look on Pinterest or in a magazine and you see beautiful Easer displays with lush-looking, thick grass? And you think, doesn't that loook gorgeous? And then you look outside and see the miserable excuse for a lawn that your children have trodden to bits? And you sigh and flick to the next page, looking for inspiration for decorations you are more likely to be able to reproduce for Easter Sunday and that you could maybe involve the kids in?

Well stop right there. Here is how you can grow your own lush and juicy looking grass in just two weeks with very little effort. In fact, you can get your children to do it for you, it is that simple. And it grows so quickly, they will love how they can almost watch it grow, hour by hour.

Here's  what you need:
Water
Wheat grains (the kind brown bread is made from, but whole not shredded. You should be able to get them in a wholefood shop or a garden center)
A flat-bottomed container, preferably shallow or made of glass (I'll explain why further on)
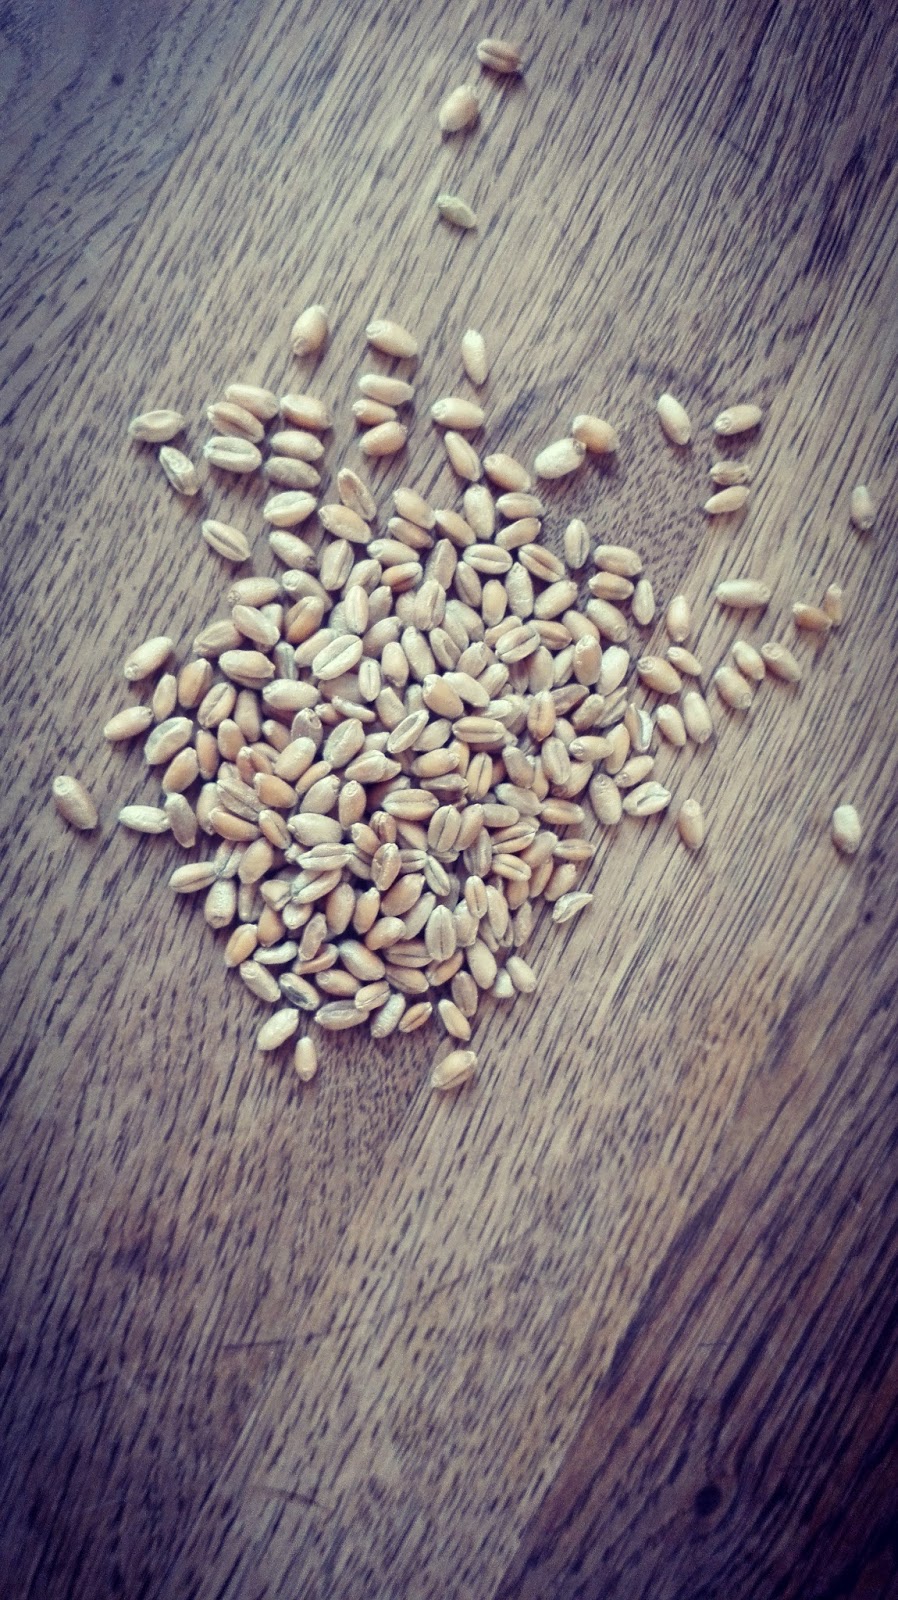

Wheat grains like these are what you need to start your grass off. Don't be concerned that they are dry. So are cress seeds or any other seeds you buy. The wheat grains I used were bought in October and, in our house at least, usually get milled and and added to brown bread when I bake it. They have worked perfectly for grass.


Day 1: Place a layer of grains into a wide, flat-bottomed dish. Water the grains with just enough water to dampen them. Keep the dish somewhere where it gets lots of light. I keep ours on the landing under the skylight.

The reason you need a shallow or glass dish is to allow plenty of light to get to the grains to allow them to germinate and grow.

It doesn't have to be the dish that you intend using to display the grass in when it is grown. Once the grains extend roots, the roots intertwine and form a base beneath the grass stems.

Day 2-3: Water with just enough water to dampen the grains. Keep an eye on them to make sure that they don't dry out completely. The first of the grains will start to sprout. 

Day 4-7: By now most of the grains should have sprouted and the blades of grass will grow quite rapidly. Keep watering the grass daily with a small amount of water.


Day 8-10: By this stage the grass should look something like the photos below. Keep watering.


Day 11-14: By the time two weeks have passed, your Easter grass should be looking long and thick, and be a nice bright shade of green.

All that remains to be done is decide on how to decorate. Adding little chicks, foil-wrapped chocolate bunnies, painted or dyed eggs, snowdrops or miniature daffodils are some pretty ideas you could try.

I'll be posting more photos as and when I set up my own decorations. But for now here's a sneak peak at a version I was working on the other day. 


You Baby Me Mummy

Thursday, 25 February 2016

Easy Peasy Easter Art for Toddlers

Toddlers love sticking their fingers into stuff and making a mess, so why not let them at it and make a bit of Easter art out of it? This is how easy it is.


You will need:
Paper
Paint
A small amount of water
At least one child
A waterproof fine point black marker pen

Step 1: Get out some paints (poster paints are good but even those little watercolur sets work too) and a little plastic cup of water. Put an apron or bib on your child to avoid them getting paint on their clothes when they inevitably wipe their hands on what they are wearing.

Step 2: Lay a few sheets of paper on the table. White or pastel colours show up the paint best, I find. 

Step 3: Have your child dip their index fingertip into the water then into the paint. If you are using poster paints it is a good idea to put a small amount onto a plate. If you are using watercolours, get the child to rub their wet finger on their chosen colour of paint until it is well coated with colour.

Step 4: Make fingerprints scattered all over the pages, reloading the fingers with fresh paint as needed.


Step 5: Leave the paint to dry. Wash the child's hands and put away the water and paints. 

Step 6:  For chicks - draw eyes, beaks and wings on the fingerprints
For bunnies - draw eyes, nose, mouth, ears and a fluffy tail on the fingerprints


Step 7: Now you can decide what to do with your little works of art. The ideas I like are:
- Hang the pages up as they are

- Cut out the best creatures and make Easter cards


 - Cut out some of your favourites and glue them to little paper bags. You can then fill these with chocolate eggs and give them as gifts at Easter. As an alternative, you can do the fingerprints straight onto the bag, as we did here:


Sunday, 21 February 2016

Heitmann Egg Decorating Set Giveaway

I woke up this morning feeling generous and decided I would hold a little Easter giveaway today! 

Having spent the past week thinking about Easter crafts and what new things to try this year, I thought I would share my favourite egg dye brand with you, because I will definitely be using it again this year. I have already bought several packs in preparation.


We have used Heitmann egg dye for years and years now and have always been really pleased with the results, not to mention the fun we have had deciding on the colours and techniques to use.


The set contains five dyes. All you need to do is dissolve the dye tabs in water and vinegar (the instructions are on the back of the pack in several languages) and then the fun starts. You can create all kinds of patterns and designs on your eggs using simple techniques.


So here is your chance to win! 

Just enter a comment on this post, letting me know your favourite Easter craft and you'll be in with a chance to win one of these little sets. Feel free to share the giveaway details on Facebook, Twitter, etc. 

If you want to leave a link to your own craft ideas, please do. 

I'll choose a winner on Monday 22nd. Good luck everyone! I am excited to hear about your crafts. 


Some of our favourites from last year


Click here for all our Easter posts.

[Disclaimer: This is not a sponsored post. I bought and paid for the Heitmann set myself and the idea of the giveaway is all my own. All words, opinions and photos are my own too. I am just in a generous mood today.]

Wednesday, 1 April 2015

A few photos of this year's egg decorating with the kids

Here are a few more details and photos of our preparations for Easter over the last week or so. 

These are white eggs, hard boiled and then submerged in IRIS dyes for various lenghts of time. We made the pale green by mixing some of the yellow and blue dyes. The white stars were created by placing stickers on the eggs after boiling but before dyeing. More on this method below. 
The pink stars were created by dyeing an egg pink and leaving it to dry. Then we placed some star stickers on it and submerged it in the blue dye. This turned the pink  shell purple but the areas covered with stickers remained pink. The white star is the original egg shell colour.
Preparing beetroot for making a natural dye.
Beetroot is a brilliant natural dye, as anyone who has ever accidentally dropped beetroot juice in their clothing will know. To make a dye from it, chop fresh beetroot into chunks (you can leave the skin on) and boil it in enough water to cover it. Turn off the heat and leave the beetroot to infuse the water. After a few hours, strain and jar the water, You can place hard boiled eggs or just egg shells into the dye and leave them there for several hours to take on the colour. 
The same method can ebe used to make a dye with onion skins. You need to use quite a lot of onion skins but the results are pretty, eypecially if you use stickers on white eggs.
Beetroot dye
Take an egg.
Stick star-shaped stickers onto it.


Place it in the dye and leave it until the desired colour has been reached.
Dyed with a mixture of red and brown onion skins.
Brown egg shells dyed with homemade onion skin dye.


White egg shells dyed with homemade beetroot dye. I love the shade that the inside of the eggs has taken on here.
Our cloth Easter bunnies made of scraps of fabric and stuffed with teddybear filler.  I had planned to make several of these as gifts but unfortunately just didn't have the time to make more than this.

Saturday, 28 March 2015

Easter Crafts with Kids #2 - Decorated Eggs

As I mentioned in my previous egg-dying post, painting or dyeing hard-boiled eggs is a really big thing here in Germany. Even though my children absolutely detest eggs, except in cakes, pancakes or waffles, they love decorating them. The Bavarian and I are then left to consume vast quantities of boiled eggs. Last year we tried out blown eggs or the lazier version, emptied out eggs. 

Emptied out eggs are my name for egg shells that have had a fingertip-sized hole made in them and the contents literally emptied out. I am not a big fan of blowing eggs, so in the run to to Easter last year and this I used the emptying method whenever I was using eggs for baking or scrambled eggs, etc. After a quick rinse out, I put the shells to one side and when the time came to start decorating, we had a nice pile of almost-intact shells to work with. 

Here are a few photos of how we got on last year.


All the paraphernalia you need: deep bowls for the dye, a pot for boiling the eggs and plenty of eggs or eggshells. We use IRIS egg dyeing tablets. They are everywhere here in Germany. You dissolve them in cold water and add a few drops of vinegar then drop in the eggs. You can find similar egg dye here.


Various shades of blue attained by leaving the eggs in the dye for different lengths of time.

Pretty pastel pinks and purples arranged together in an egg carton.

We used strips of patterned paper to weave little Easter baskets and then filled them with shredded paper and coloured straw. These make very pretty Easter egg gifts.

While the boys fiddled about with colours, I tried out some bird stamps I bought in Waterstones on the white eggs. After a few practice goes I got the hang of how much pressure to apply and I was quite pleased with the simplicity of the end result.

I was surprised to find that the inside of the egg shells often took on a much more interesting shade of colour than the outside. Eggshells in blues and purples scattered around a little vase of bluebells made a dainty litte centrepiece on the kitchen table last Easter.

Mummascribbles

Thursday, 19 March 2015

Easter Crafts with Kids #1 - Mini Easter Garden

The Bavarian picked up this idea somewhere and made these boxes with the kids for me one Easter a couple of years ago. I was flabergasted and absolutely delighted to be brought coffee in bed and a cute box of dyed eggs on Easter Sunday morning. 

Given that there are only a few steps to making these, they are a perfect craft idea for toddlers. You will need:
Enough eggs to fill one egg carton (optional: hardboiled and painted)
2 egg cartons, preferably green
1 toilet roll insert
Coloured paper (for grass and for flowers)
Glue and sticky tape

Begin by cutting the toilet roll insert in half. The two halves will become the petals of the tulips. 


 Glue the coloured paper around the toilet roll halves. Leave to dry for a moment and then cut a zig-zag pattern into the top of each half, as in the photo on the left.


 Per tulip cut one upright from one of your egg cartons and stuff the wide end into the bottom of your tulip. Add some glue to the narrow end and stick it to one of the uprights in the other egg carton. 
Repeat the steps above to make as many tulips as you want.
Fold an A4 piece of green paper in half lengthways. Cut an irregular zig-zag along the fold to create two lenths of paper with blades of grass. Stick the grass all along the outer edges of the egg carton. The fill the carton with eggs to complete your mini Easter garden.


Mummascribbles