Showing posts with label natural dyes. Show all posts

Tuesday, 3 November 2015

How to Save A Baking Fail - The Invention of Carrot Cake Cookies

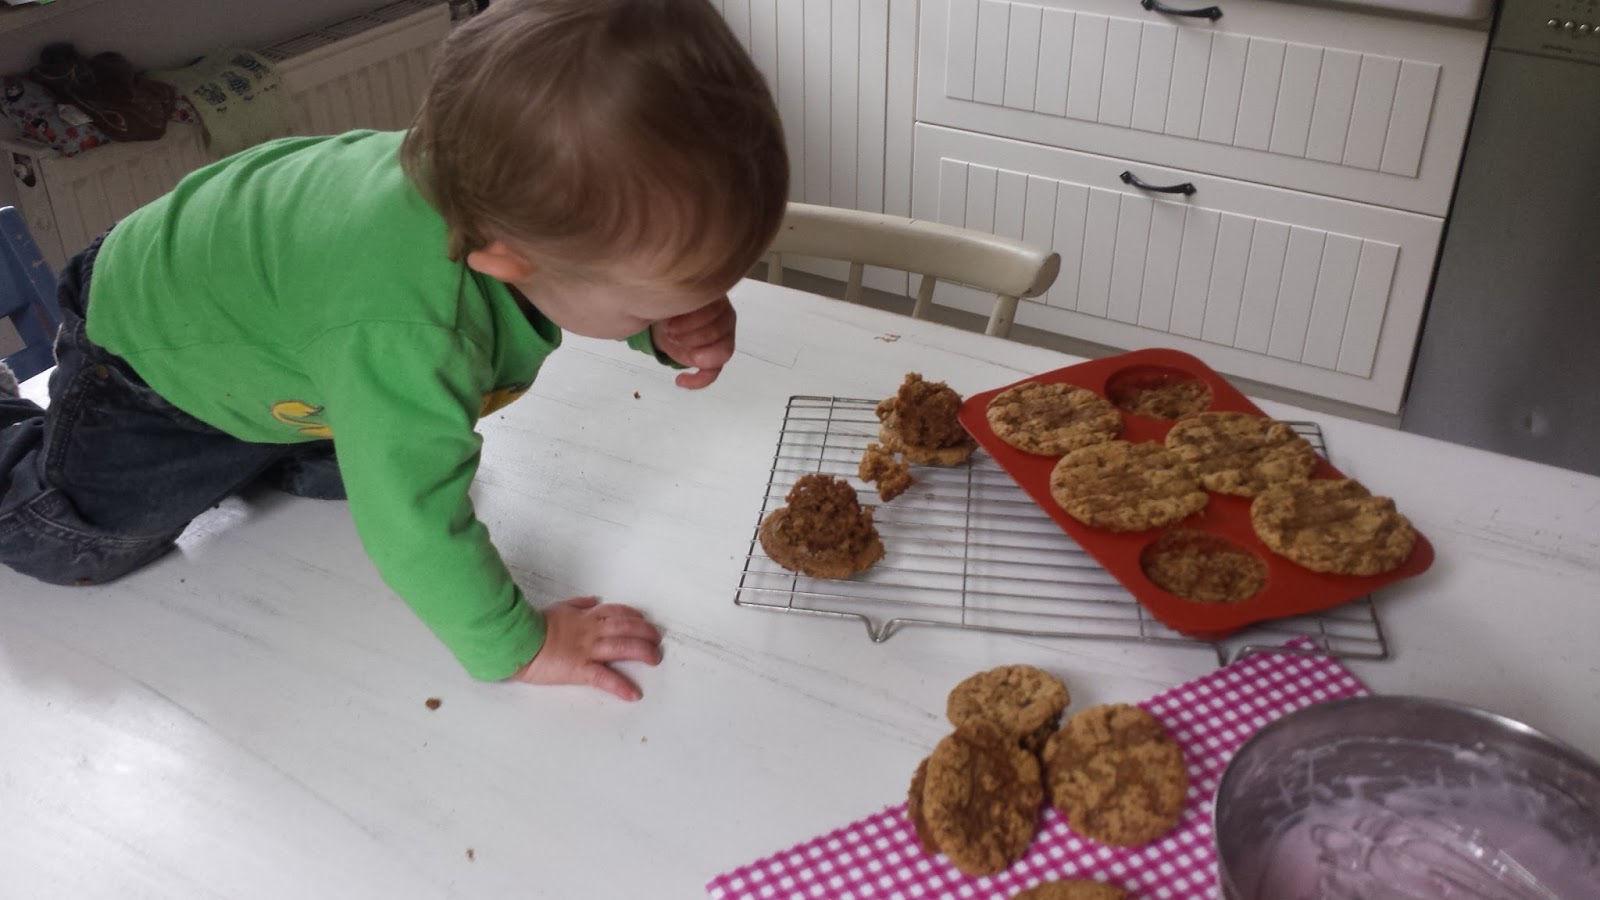
See this woopie pie looking creation? It was supposed to be a bog standard carrot cake. Honest. It was. 

The other week I got a bit carried away while doing the groceries and came home with three types of carrot - violet ones, yellow ones and the normal orange ones. The kids liked the look of them when I chopped them into sticks but weren't too impressed when they realised they taste the same as the regular raw carrots. 

Then we tried cooking them. Together in one pot. Let's just say big mistake. They, and the water we cooked them in, all turned dark bluey purple and looked less than appetising. 
So, what do you do with violet carrots that are getting older by the day and no one wants to eat? My solution was to make carrot cake using my tried and tested recipe. I have been using this recipe for seven years and it has ALWAYS worked. But for some reason on this particular day I suddenly had visions of beautiful carrot cupcakes with purple cream cheese frosting piled high upon them. I decided at the last minute to pour the cake mixture into silicon muffin cases instead of a cake tin. 

Then I set to work on the frosting. I had an idea that I could boil some of the carrots, reduce the water after boiling and create my own food colouring in deep purple. To my utter delight, it worked. I could barely wait to get the cupcakes out of the oven and start assembling them.
  
And then came the fail moment. The cupcakes were stuck like glue to the silicon. The tops came off as soon as I tried to ease them out. Just as I was about to call the boys and let them gobble the whole lot down, straight from the muffin cases, it struck me that the muffin tops looked quite like cookies. And filled cookies taste great, don't they? So I gave it a go, sanwiching two muffin tops together with cream cheese frosting. The Bavarian was allowed the first try, completely ignorant of the fact that he was acting as guinea pig. He wolfed it down enjoyed it thoroughly and asked for another. The boys were mad for them too, so much so that I think I am going to have to make them again. And so the carrot cake cookie was born! 

Wednesday, 1 April 2015

A few photos of this year's egg decorating with the kids

Here are a few more details and photos of our preparations for Easter over the last week or so. 

These are white eggs, hard boiled and then submerged in IRIS dyes for various lenghts of time. We made the pale green by mixing some of the yellow and blue dyes. The white stars were created by placing stickers on the eggs after boiling but before dyeing. More on this method below. 
The pink stars were created by dyeing an egg pink and leaving it to dry. Then we placed some star stickers on it and submerged it in the blue dye. This turned the pink  shell purple but the areas covered with stickers remained pink. The white star is the original egg shell colour.
Preparing beetroot for making a natural dye.
Beetroot is a brilliant natural dye, as anyone who has ever accidentally dropped beetroot juice in their clothing will know. To make a dye from it, chop fresh beetroot into chunks (you can leave the skin on) and boil it in enough water to cover it. Turn off the heat and leave the beetroot to infuse the water. After a few hours, strain and jar the water, You can place hard boiled eggs or just egg shells into the dye and leave them there for several hours to take on the colour. 
The same method can ebe used to make a dye with onion skins. You need to use quite a lot of onion skins but the results are pretty, eypecially if you use stickers on white eggs.
Beetroot dye
Take an egg.
Stick star-shaped stickers onto it.


Place it in the dye and leave it until the desired colour has been reached.
Dyed with a mixture of red and brown onion skins.
Brown egg shells dyed with homemade onion skin dye.


White egg shells dyed with homemade beetroot dye. I love the shade that the inside of the eggs has taken on here.
Our cloth Easter bunnies made of scraps of fabric and stuffed with teddybear filler.  I had planned to make several of these as gifts but unfortunately just didn't have the time to make more than this.